
WooCommerce Layaway Plugin
Documentation.
Everything you need to install, activate and configure the
WPLabWorks WooCommerce Layaway & Bill Pay Plugin.
From Download to Your First Layaway.
Follow these steps in order if you’re installing the plugin
for the first time.
Requirements
Make sure the following are available before installing
the WooCommerce Layaway & Bill Pay Plugin.
WooCommerce
WooCommerce must be installed and active.
Advanced Custom Fields
The free ACF plugin from the WordPress Plugin Directory.
Authorize.Net Account
Used for payment processing.
Layaway Activation Key
Your plugin license / activation key.
Install the Plugin
1
Install Advanced Custom Fields
Install and activate the free
Advanced Custom Fields (ACF)
plugin from the WordPress Plugin Directory.
2
Unzip the ACF Field Export
Unzip the supplied
acf-export-layaway-fields file.
3
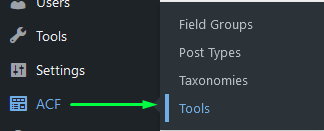
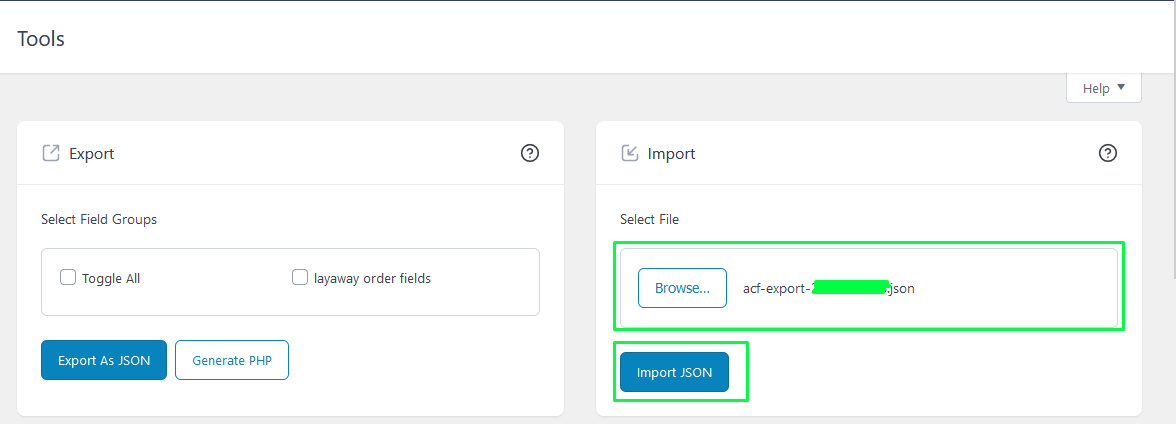
Import the ACF JSON File
From WordPress, navigate to:
Select the supplied JSON file and choose
Import JSON.
4
Install the WPLabWorks Plugin
Download your plugin ZIP file and install it
through the WordPress plugin installer.
Activate the Layaway Plugin
Where to Find Your Activation Key
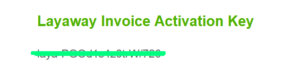
Your Layaway Invoice activation key can be found in
the email sent after purchase.
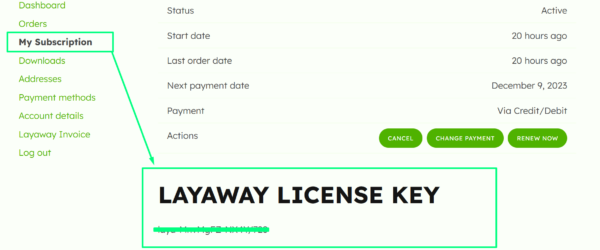
You can also locate the activation key by viewing your
subscription from the My Account area.
Activate Your License
Navigate to:
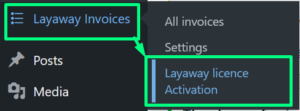
Enter your Layaway license key and activate the plugin.

Configure Layaway Settings
Open the plugin settings from:
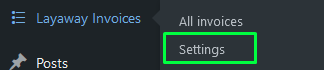
Payment Mode
Choose whether the plugin should operate in
Test or Live mode.
Create or access your Authorize.Net account and
enter the appropriate API credentials into the
plugin settings.
For production credentials, log into the
Authorize.Net Merchant Interface and navigate to:
When finished, click Save.

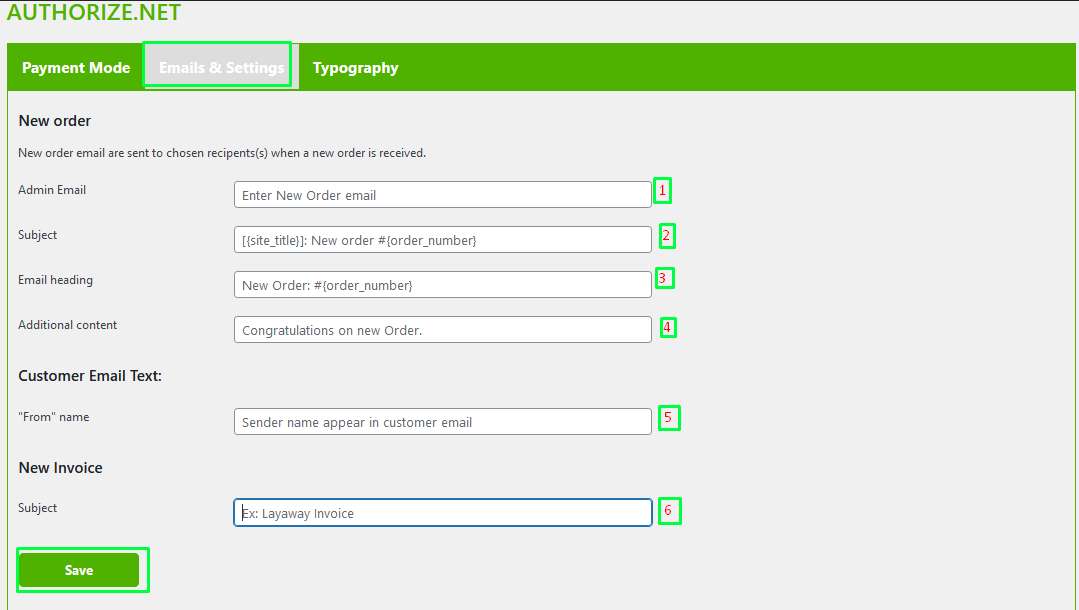
Email & Notification Settings
Configure the default email information used when
new layaway orders or invoices are created.
-
Admin Email — used as the
sender address for customer emails. -
Email Subject — default
subject for new order emails. -
Email Heading — heading used
in the email. -
Additional Content — optional
content included with the message. -
Sender Name — name displayed
to the customer. -
Invoice Subject — default
subject for new invoice emails.
Click Save when finished.
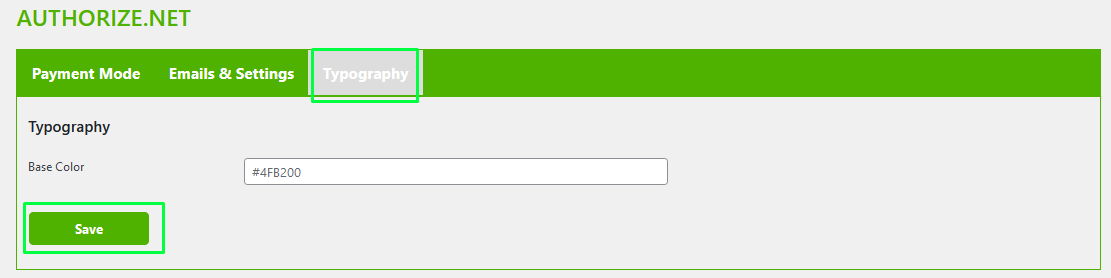
Typography & Plugin Color
Enter your desired base color. The selected color
is used throughout the layaway plugin, settings
tabs and invoice pages.
Click Save after entering the color.
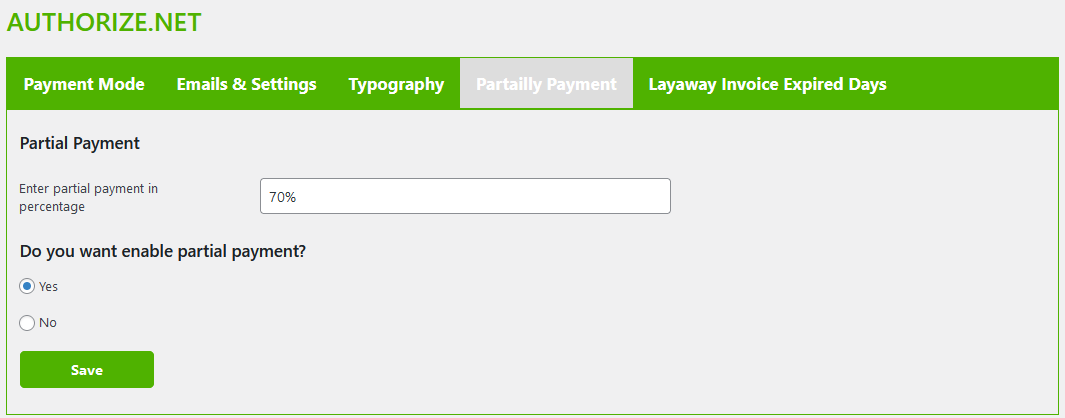
Partial Payment
Set the percentage of the total WooCommerce order
customers must pay when starting a layaway.
For example, entering 30% means a
customer purchasing a $1,000 product would pay
$300 at checkout and the remaining $700 would
become the layaway balance.
Use the Yes / No setting to enable or disable
partial-payment layaway at WooCommerce checkout.
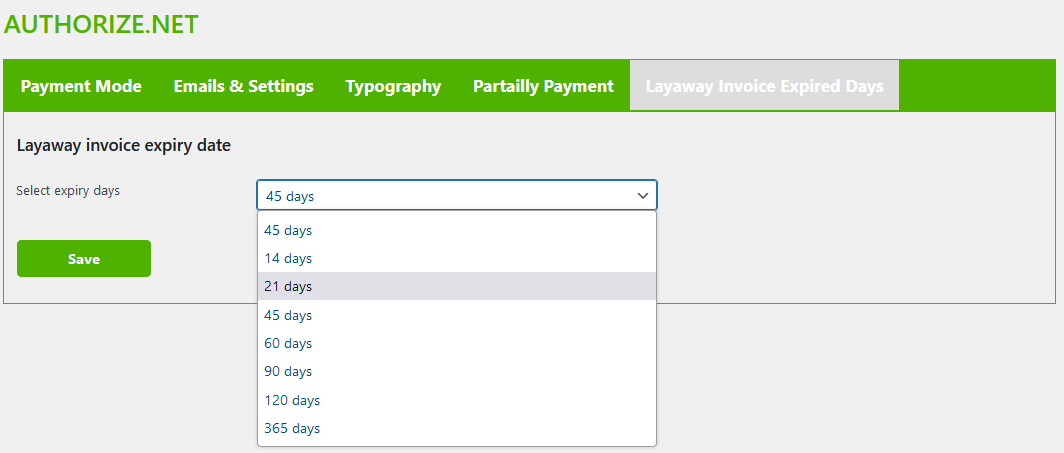
Layaway Invoice Expiration
Enter the number of days customers have to finish
paying their layaway or invoice.
Click Save after setting the
expiration period.
Enable Layaway at WooCommerce Checkout
When checkout layaway is enabled, customers can select
the layaway option while completing their WooCommerce
order.
Customer chooses layaway at checkout.
The configured percentage is collected.
The remaining balance becomes a layaway invoice.
Customer and store owner receive notification emails.
Important
If checkout layaway is disabled in the plugin
settings, customers will not see the layaway option
during checkout. You can still create layaway
invoices manually.

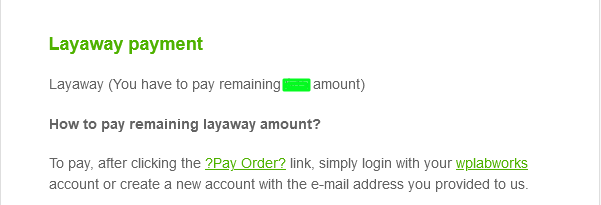
Automatic Customer Payment Email
After a customer completes checkout using layaway,
an automatic email is sent with instructions for
accessing and paying the remaining balance.
The same type of email is used when you manually
create a layaway invoice.
The customer email includes:
- Original transaction amount
- Remaining balance
- Link to the customer’s My Account area
- Instructions for making additional payments
- Layaway expiration date
Manually Create a Layaway or Invoice
Manual invoices are useful for in-store purchases,
bill pay, service invoices and other balances that
don’t originate from WooCommerce checkout.
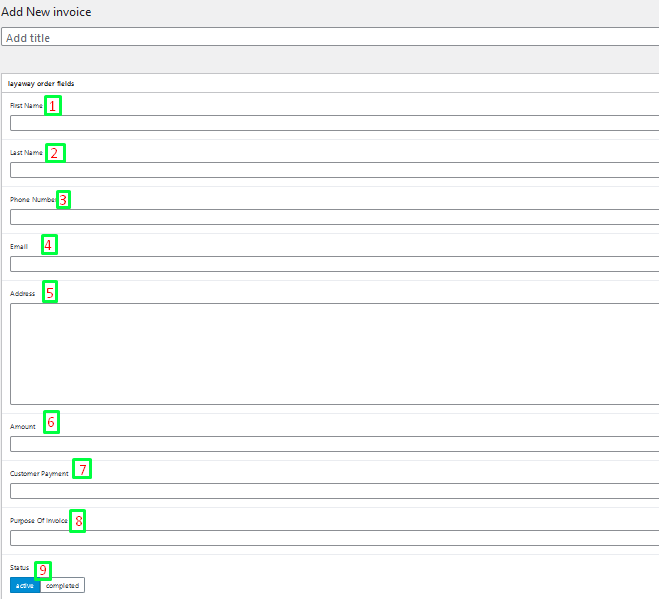
Click Add New Invoice.

Enter the Invoice Details
Complete the appropriate information including the
invoice name, customer information, address, invoice
amount, purpose and invoice title.
Publish the Invoice
Click Publish when the invoice
information is complete.
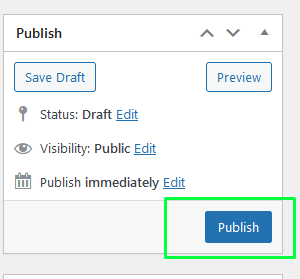
After the invoice is published, confirmation is sent
to the store owner and an email containing the payment
link and instructions is sent to the customer.

How Customers Make Additional Payments
Customers receive an email containing a link to their
WooCommerce My Account area.
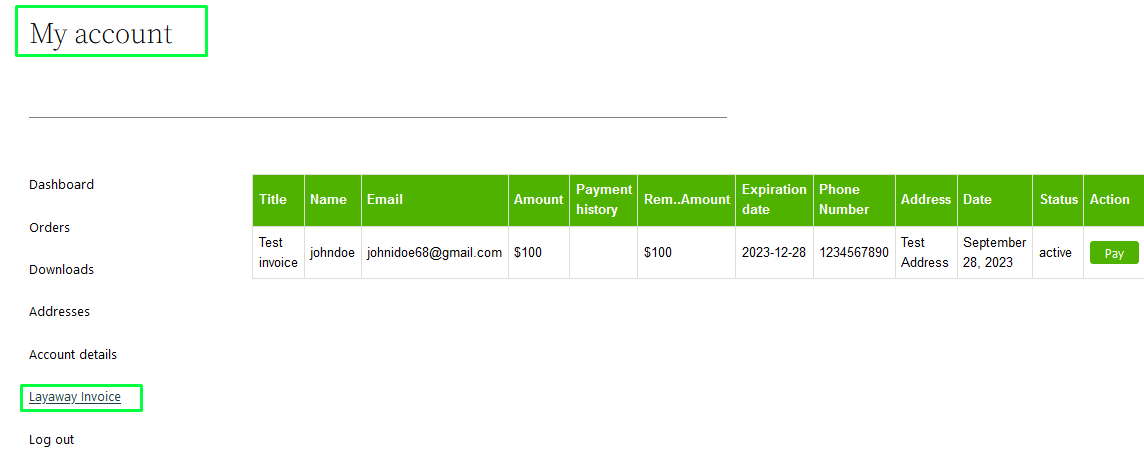
They can also log into the website normally and navigate to:
From there, the customer can view the amount due and
select the payment option for the invoice.
Submit a Payment
After selecting the invoice, the customer enters the
amount they would like to pay toward their balance and
submits the payment.
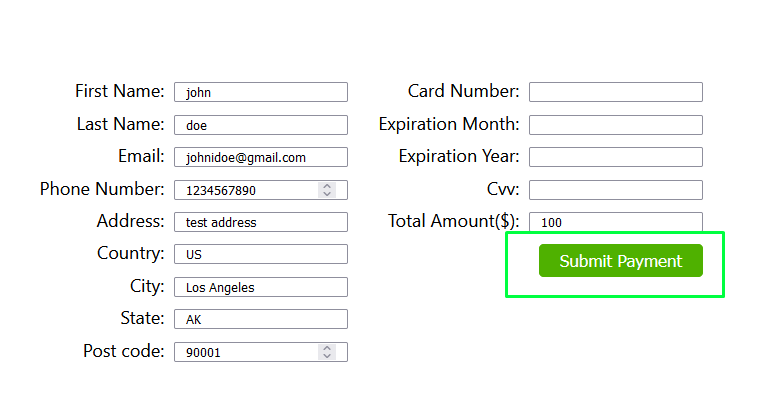
Customers can make either a partial payment or pay the
remaining balance in full.
Partial Payment

Paid in Full

Still Have a Question?
If you don’t see the answer in the documentation,
contact WPLabWorks and tell us where you’re getting stuck.